by Claire Gallam

How to Update your Cabinets
Tired of your kitchen old cabinets? Try your hand at refurbishing them yourself! It's easy as removing cabinet doors, removing stain and repainting. So save the money you'd spend on a costly handyman and buy some new dishes or fancy gadgets to fill your snazzy new cabinets!
This is one DIY that you would be crazy not to tackle yourself. Just like staining your wooden floors, refurbishing your cabinets only sounds harder than it is. Just enlist the help of your husband or friends and be done in no time!
What you'll need:
- Screwdriver
- Paint stripper
- Sandpaper
- Wood putty and wood putty knife
- Wood conditioner (if cabinets are wood)
- Stain or paint
- Primer
- Vacuum
Step 1: Remove old cabinet doors
Step 1: Remove old cabinet doors
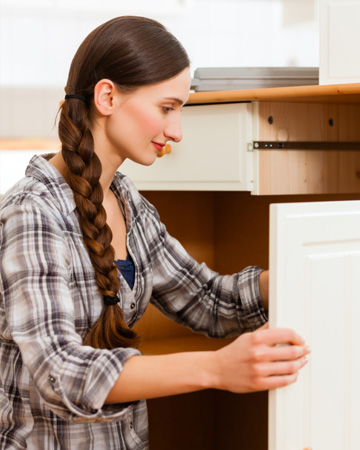
Using your screwdriver, remove the cabinet doors and associated hardware from the hinges. If your cabinet has drawers inside, remove those draws as well and place with the doors for refurbishing. Also remove the hardware and ornaments from your doors, like the handles. Use your vacuum to suck up any debris and give the inside of the cabinet a thorough wipe through. In addition, be sure to wipe off any smudges or dirt from your cabinet doors.
Step 2: Repair and update cabinets
If your cabinets have any major damages, like deep gashes, holes or dents, use the wood putty to fill them in. Use putty that is the same color you plan to paint or stain to avoid obvious wear and tear to your cabinets. If the cabinets hold smaller items, like spices or bottles, install a lazy susan or drawers to make organizing easier. No use in updating the outside if the inside is a disorganized mess!
Step 3: Strip paint or stain
Using a commercial paint stripper, remove the old paint or stain from your cabinets and cabinet doors and drawers. If you don't have a paint stripper, sand off the old paint or stain, using sandpaper or a professional grade sander. Both options will work. Once the paint and stain has been removed, use a damp towel or cloth to wipe away any debris or loose pieces left by the removal process.
Step 4: Repaint, restain and let dry
If you are choosing to stain your cabinets, apply the stain by rubbing it into the wood using an old rag or sponge. To give the cabinets the most natural look, apply the stain in even strokes going with the grain of the wood. Allow the first coat of stain to dry completely before you apply a second coat to avoid gunk build up. Once your second coat of stain has been applied and has dried, you'll need to apply a coat of polyurethane, which will help protect the stain from fading or water damage. Repeat the same process with the doors as well.
Step 5: Update cabinet hardware
Be sure your cabinet doors are completely dry before you replace the handles. Nothing adds some character to cabinets quite like cute handles and ornaments! To keep your kitchen's feng shui in check, choose handles that go with the rest of your theme, whether that be sleek and modern or vintage and old-fashioned. For a fun, kitchen theme, turn your old spoons into handles with this fun, antiquey DIY. You can also buy assorted cabinet handles and pulls at stores like Anthropologie and mix and match for a unique, eclectic look.
Step 6: Reattach doors
Using the screwdriver and set of screws you saved from when you removed the doors; simply reattach the door where it was previously. If you have drawers inside your cabinet, reattach those first so you can ensure you don't scratch any of the paint or stain on the newly painted doors.
No comments:
Post a Comment